Visual Studio Tips & Tricks - Window Layouts
Another neat little feature available in Visual Studio is the option to customize the window layouts. This comes in handy when you work on different machines and you want the same look and feel for the enviroment across all your devices and instances.
For this to work, first you need to log in with the Microsoft account while using Visual Studio, so that whatever changes you make for customizing the layout will get stored in the cloud and will be used to synchronize the layout across devices.
Let's see how we can manage layouts using Visual Studio. I prefer to have least tabs open in the IDE and likes have the code editor uses most of the layout. So I have closed all the open tabs in the right side as well as in the bottom.
Saving Layout
Now we can save out layout from Window -> Save Window Layout.

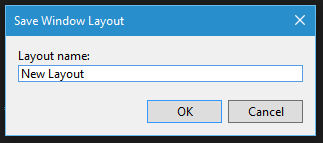
When you click on the Save Window Layout, you will be asked to enter a name for saving the layout.
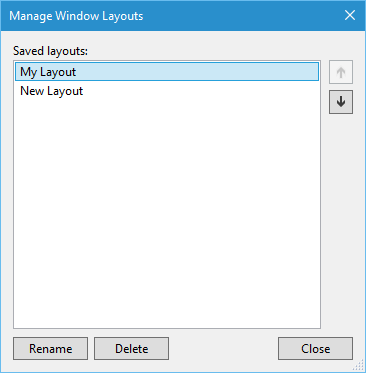
You can use the Manage Window Layouts menu item to perform actions such as deleting a saved layout, renaming the saved ones and rearranging the sort order.
Window -> Manage Window Layouts
Applying Layout
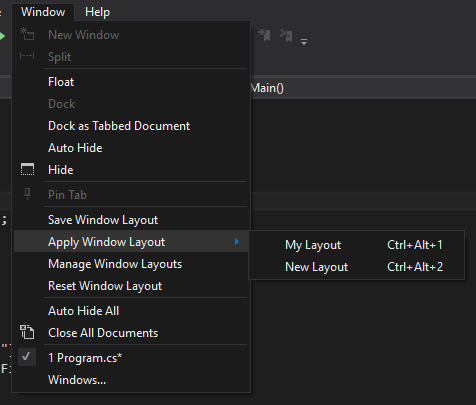
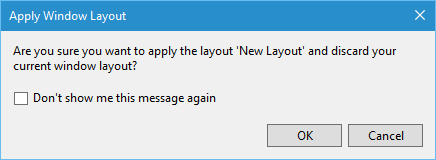
As seen from the above screenshot, I have saved multiple windows layouts in my account and I can switch between these layouts using the Apply Window Layout under Window menu. When you click on the Apply Window Layout menu item, it will show all the saved layouts as a sub menu. To apply a layout, click on a layout name in the sub menu, a confirmation will be taken from and applies the layout.
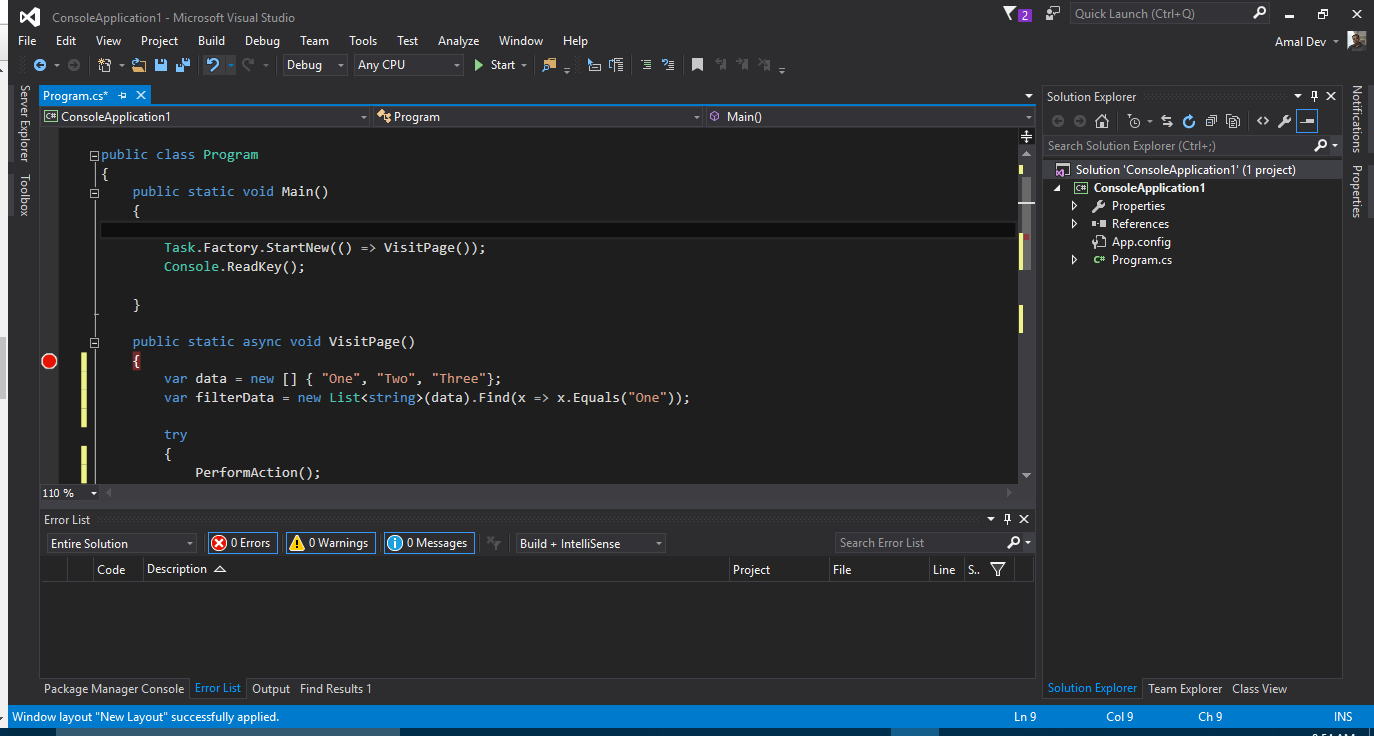
When the layout is successfully applied, an information will be shown in the status bar located at the bottom of the window as shown below.
Reseting To Default Layout
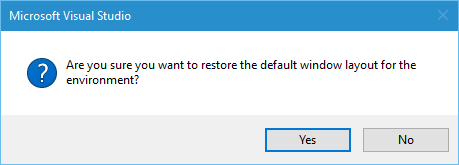
You can reset the layout to default from Window -> Reset Window Layout. Clicking on it will show a confirmation prompt and will be reset to default when you click on the Yes button.
No Comments
Connecting Azure Blob Storage account using Managed Identity
Posted 12/9/2022Securing Azure KeyVault connections using Managed Identity
Posted 11/26/2022Manage application settings with Azure KeyVault
Posted 11/9/2022Adding Serilog to Azure Functions created using .NET 5
Posted 4/3/2021Learn how to split log data into different tables using Serilog in ASP.NET Core
Posted 4/23/2020