Upgrading Orchard to v1.9
The blokes at Orchard has released a new version of their popular content management system bumping it to 1.9. You can read more about it here detailing the features added and bug fixes. If you are using Orchard as your CMS, the following steps will help you to migrate to the latest version.
First of all to check the version of your Orchard instance, log on to your admin dashboard and scroll down to bottom right of the page.

There are multiple options for upgrading the instance which is detailed in this blog post and I will be using the approach. In this approach I will be using a copy of the site in my local machine which acts as a staging site and will upgrade the Orchard in this instance and if every thing is fine then will upload the files back to the production site.
Step 1 : Backup
It is very important to take the back up of the production site and the database so that we will be able to restore it back to the original state as a last resort if something catastrophic happens. Also if you are using the SqlCe database make sure that the sdf file inside App_Data folder is also backed up.
Step 2 : Download the latest version
You can download the package from the Download section in the Orchard website, but for my case I will be cloning the full source code from the GitHub Repository which is detailed in this blog post. Once the cloning is completed the folder structure will look like as given in the figure below.

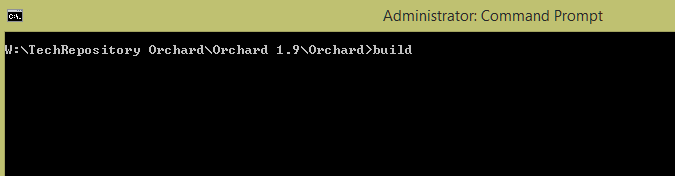
Step 3 : Building the source
Then open up the Command prompt or Visual Studio command prompt and run the following command to build the just downloaded source.

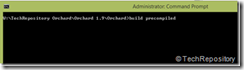
Once the build is completed, you will notice that two additional folders are created as shown below,

Note :
But when I follwed this step, I got issues while hosting the site in the production environment even though every thing was working correctly in the staging site. So I ran the build command statement first and then ran build precompiled command in the console.
The build command will take some time to complete and once that in completely, only then run the second command.
Step 4 : Hosting the newly created build in IIS
If you go inside the build folder, you will find the precompiled folder which will have the contents as shown in figure below

If you host this folder in the IIS and browsing to this site will give you the default installation page of Orchard running on version 1.9.
Step 5 : Migrating existing content
Now we need to migrate the contents of our web site to this folder. For that you need to copy the contents of the sites folder in the App_Data folder along with the Media, Themes and custom modules from the backed up location to the folder where we are hosting the newly created site. Make sure that you are copying the custom modules only, other wise the latest ones will be overwritten by the older files.


Now if you browse the site it will show the contents of your site along with the correct theme running on v1.9
Step 6: Updating the production site
Once you are satisfied with staging site we can now migrate this changes to the production using a FTP client. There’s no harm in uploading the entire contents in the root folder, if you are not sure about the files which are all to be uploaded
Note : Instead of building from the command prompt and uploading the contents manually, you can use Visual Studio or Web Matrix for building the source as well as publishing it from the IDE itself.
Related Links :
Building and deploying Orchard from a source code drop
1 Comment
Connecting Azure Blob Storage account using Managed Identity
Posted 12/9/2022Securing Azure KeyVault connections using Managed Identity
Posted 11/26/2022Manage application settings with Azure KeyVault
Posted 11/9/2022Adding Serilog to Azure Functions created using .NET 5
Posted 4/3/2021Learn how to split log data into different tables using Serilog in ASP.NET Core
Posted 4/23/2020