Stream Video Using Azure Media Services
Recently I faced some dilemma in setting up video streaming for a site which I was working on. Since most of the targeted audience was from the enterprises, I wanted to avoid YouTube and other popular streaming services because of the greater possibility of it getting blocked by the corporate firewalls. So after some research, I found that the offering from Microsoft Azure very interesting and decided to explore it further. So in this post, I will be going through the various steps for setting up video streaming using Azure Media Services.
From the documentation, Azure Media Service is
An extensible cloud-based platform that enables developers to build scalable media management and delivery applications. Media Services is based on REST APIs that enable you to securely upload, store, encode and package video or audio content for both on-demand and live streaming delivery to various clients (for example, TV, PC, and mobile devices).
Setting Up Media Services
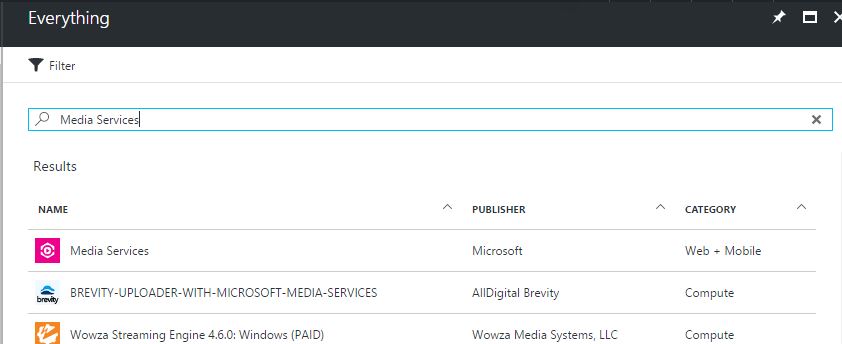
To get started, search for Media Services by typing it in the search box and then click on the first one under Web + Mobile category
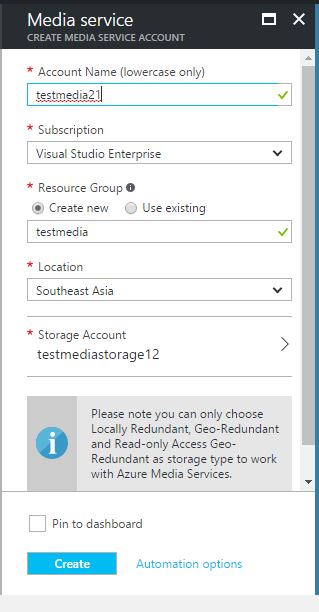
When you click on the Create button, you will be prompted to give a Name, choose a subscription, resource group, location and a storage account. Make sure that you choose the same region for your location and storage account, otherwise you may face problems down the line.
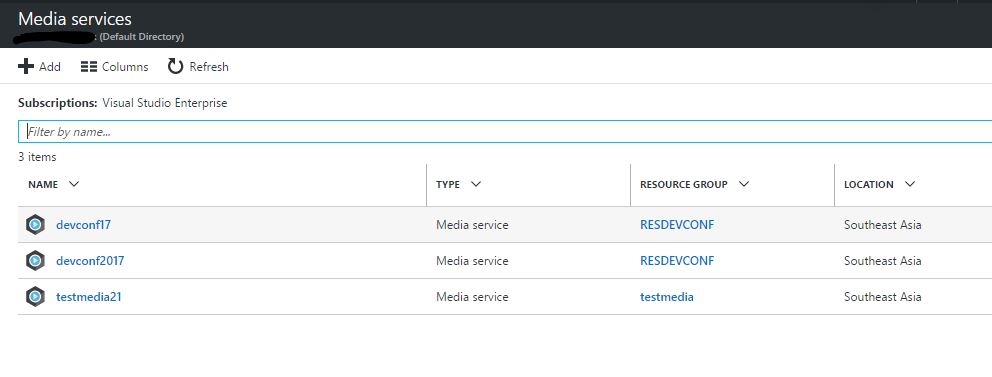
We are now all set for creating a media service, just click on the Create button to start the deployment and you will see a new entry under Media Services after the deployment as shown below.
Uploading the Media.
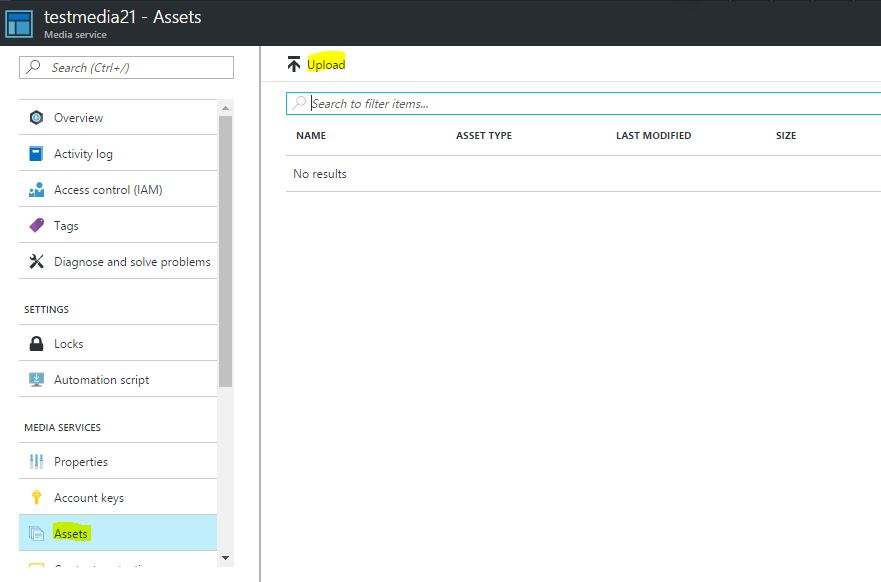
Now you need to upload the source media which is a video file in our case to the newly created media service. To do that, go to the overview page by clicking on the name of the media service you just created. From there click on the Upload link under the assets option.
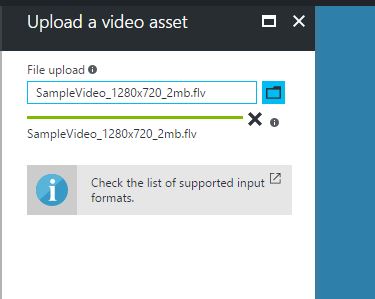
Here you will have an option to select a file from your computer and the progress of the the upload will be shown as in the image given below.
Encoding the media.
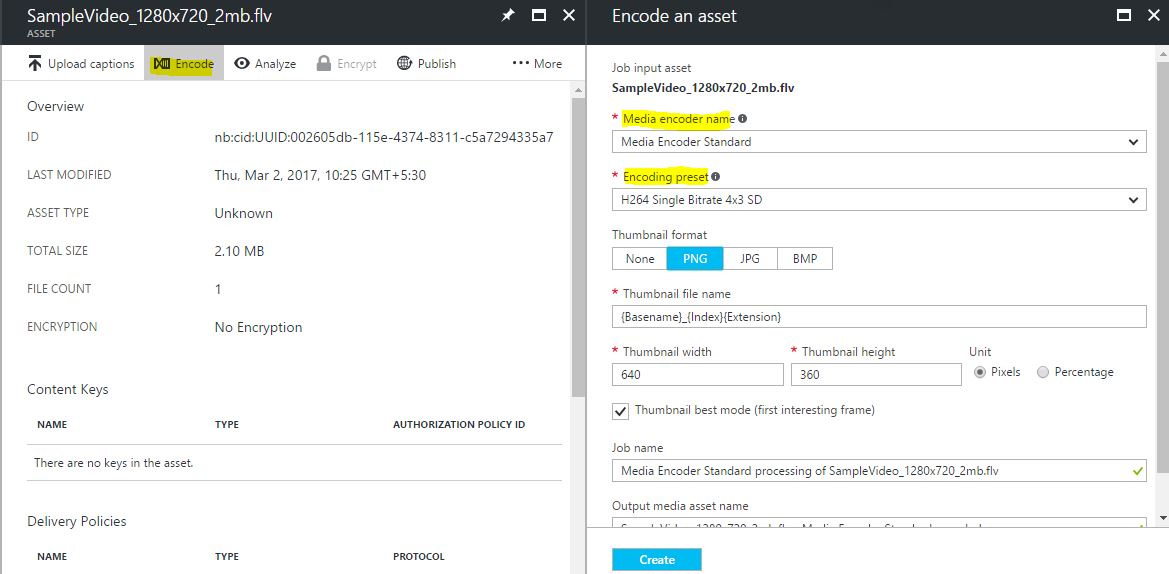
Once the file is uploaded we need to encode it in a To encode the uploaded media, click on the asset to go to the detail page and then click on the Encode link at the top of the page. Select a media encoder, a preset and fill the rest of the mandatory fields to start the encoding by clicking on the create button.
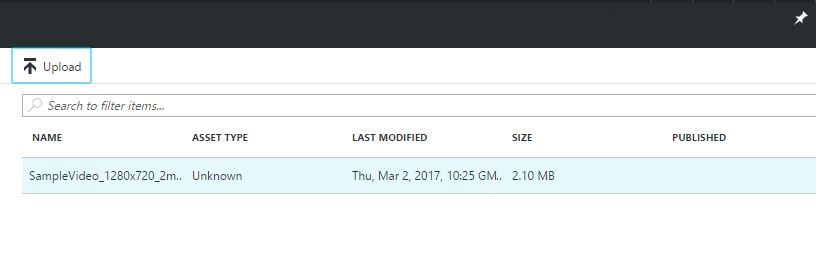
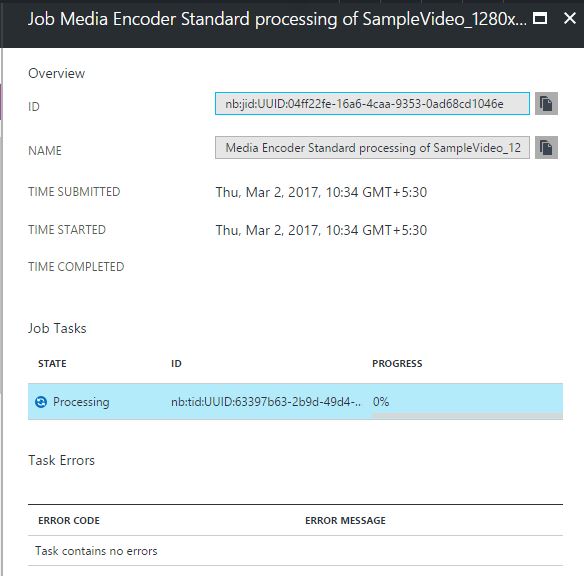
It will create the process immediately as a job and can track the status as shown below
Publish the Encoded Asset
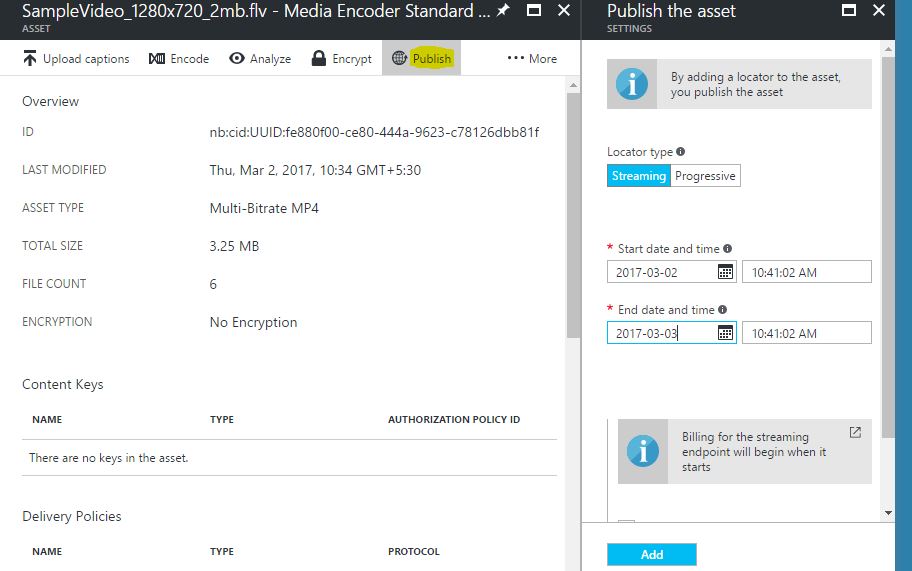
Once the encoding is completed, you can use the Publish link to setup your asset ready for streaming. Select the Locator type as Streaming and you can set up a start date and end date for the streaming too from here.
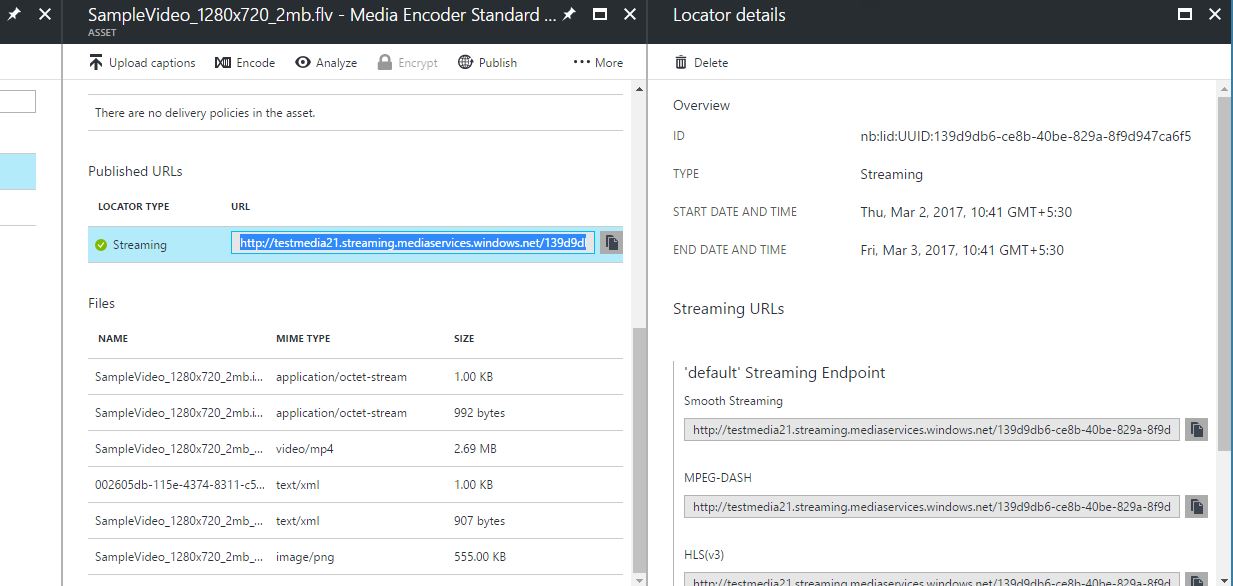
That's all we need to start streaming your video using Azure Media Streaming Services. You can make use of the <video> tag in HTML5 to embed the video in your site as shown below.
<video id="player" oncontextmenu="return false;" src="blob:http://*******/96b5ddc9-1eb9-44dc-88a5-bfd5df9197e5"></video>
No Comments
Connecting Azure Blob Storage account using Managed Identity
Posted 12/9/2022Securing Azure KeyVault connections using Managed Identity
Posted 11/26/2022Manage application settings with Azure KeyVault
Posted 11/9/2022Adding Serilog to Azure Functions created using .NET 5
Posted 4/3/2021Learn how to split log data into different tables using Serilog in ASP.NET Core
Posted 4/23/2020