How to a create a private Docker registry in Azure
The containerization technology has been around for some years, but it only came to the forefront when a company called Docker released their toolset which is also called Docker. Just like what shipping containers did to the logistics industry, docker revolutionized the
Pre-Requisites
- An Azure Subscription
- Somewhat familiarity in Azure
- Beginner level knowledge in using Docker
I have already written an article about creating an image and a container based on it using Docker, please feel free to refer it if want to get a quick refresher.
Setup
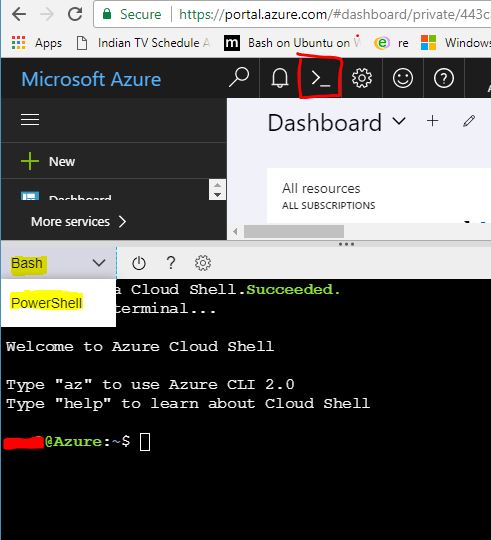
In this post, I will be using the Azure Cloud Shell which is available on the portal to run all the commands. If you are hearing it for the first time, please refer the official documentation here. It basically gives a browser-based shell experience and supports both Bash and PowerShell. You can also the portal or Azure CLI for the same.
First of all, we will check what all subscriptions are available for you and will set one as default if you have more than one using the following commands
To list the available subscriptions,
az account list
and to set one as default
az account set --subscription <subscription id or name>
Creating Azure Container Registry
Whenever you provision anything in Azure, it will create a set of assets, for example in the case of a VM it will create storage, virtual networks, availability sets etc. It will hold all these assets in a container which is called the Resource Groups, which helps to monitor, control all the assets from a single location. So for our private registry, let's create a new resource group using the following command
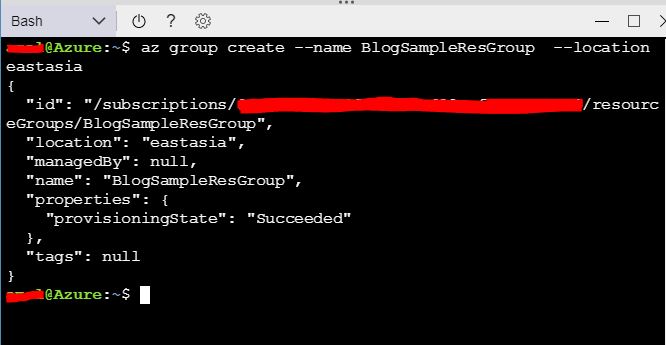
az group create --name BlogSampleResGroup --location eastasia
This will create a resource group named BlogSamplesResGroup in East Asia region
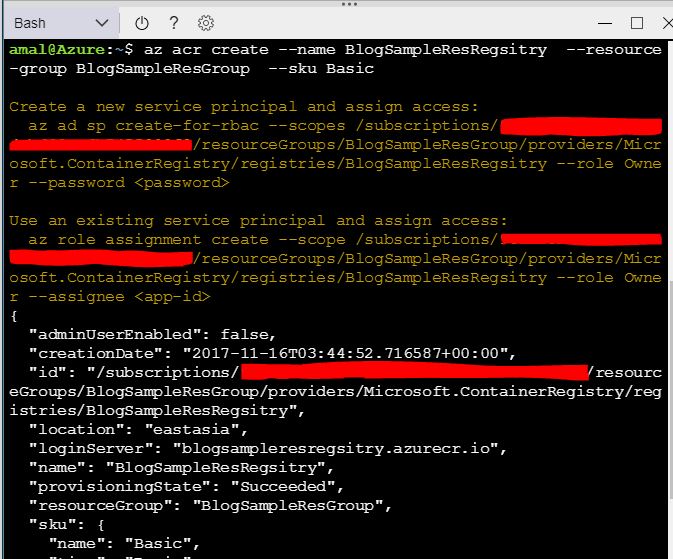
To create the registry, we will use
az acr create --name BlogSampleResRegsitry --resource-group BlogSampleResGroup --sku Basic
The value in the name parameter will be the name of our registry and will be created in the BlogSamplesResGroup. Azure Container Registry have 3 tiers which provide different pricing and other options. Those are Basic, Standard, and Premium. Please refer the documentation for more details. That's all we need to do for setting up the registry and if you go to the portal now, you can see the newly created registry.

Pushing Image to the Repository.
So we have the private repository up and running, now we let's push an image to the repository. For
docker pull hello-world
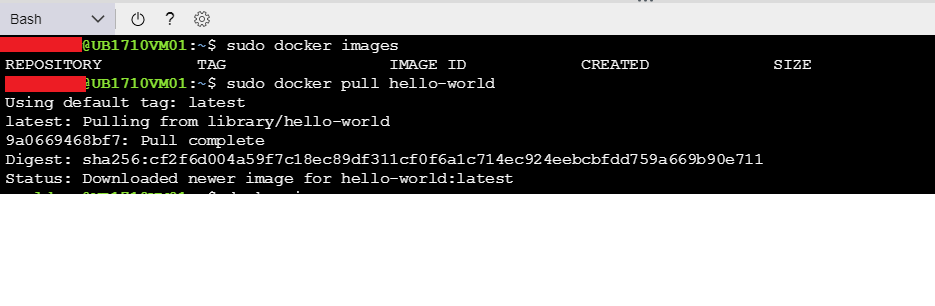
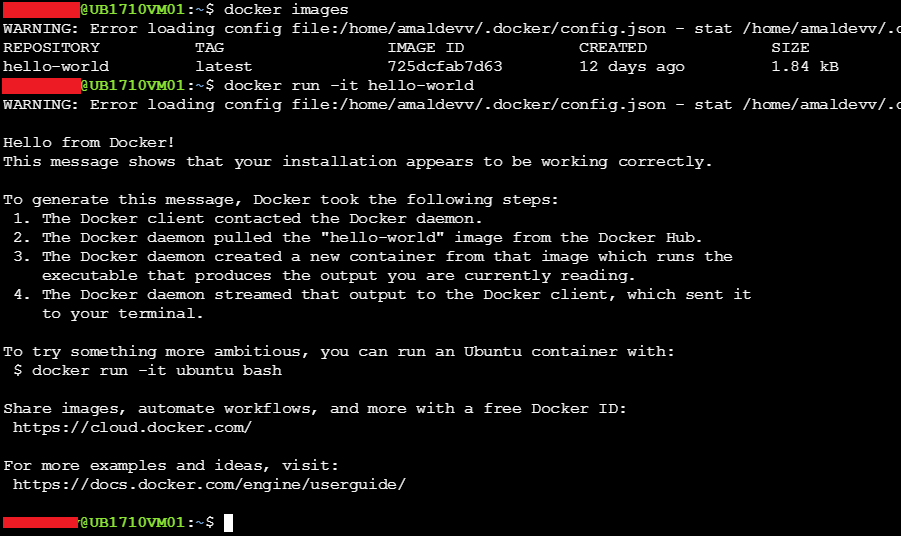
If you execute the docker images command. it will be shown on the list. To create a container in the local machine using this image, use the below command
docker run -it hello-world
The output of the command will be as shown in the image below.
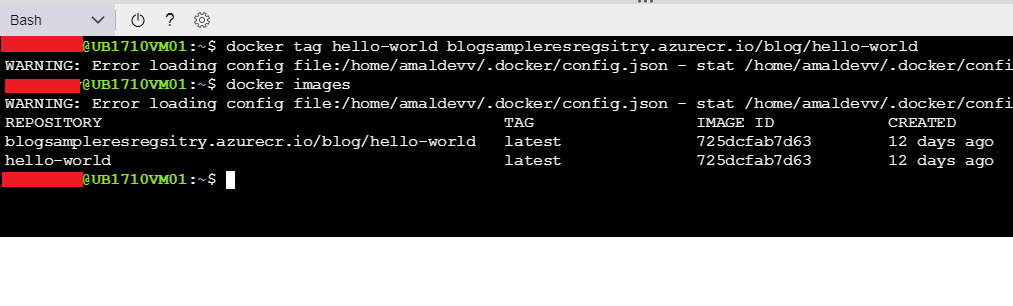
So, we have verified that the image is good and we can create a container using it. Now let's push that image to our private registry. Before that, I will use the docker tag command to tag the name of the repository that matches our registry name
docker tag hello-world blogsampleresregsitry.azurecr.io/blog/hello-world
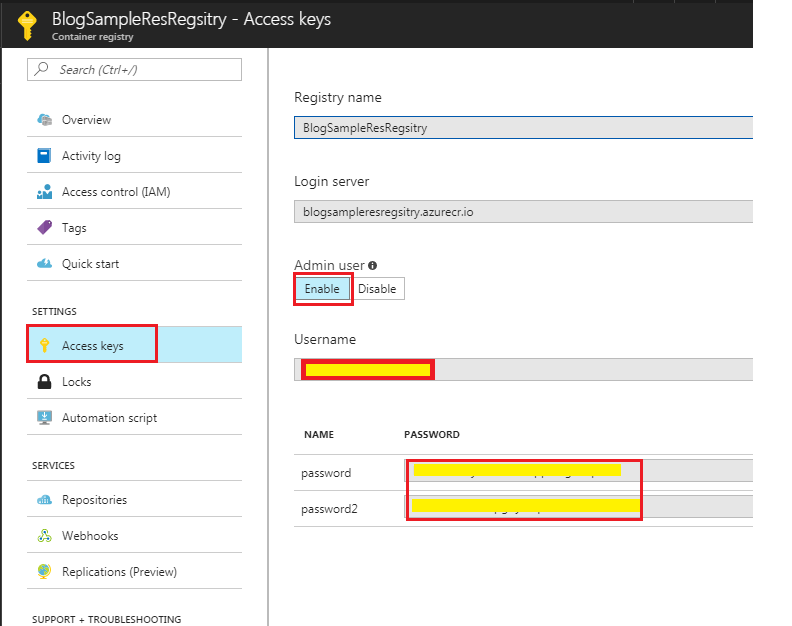
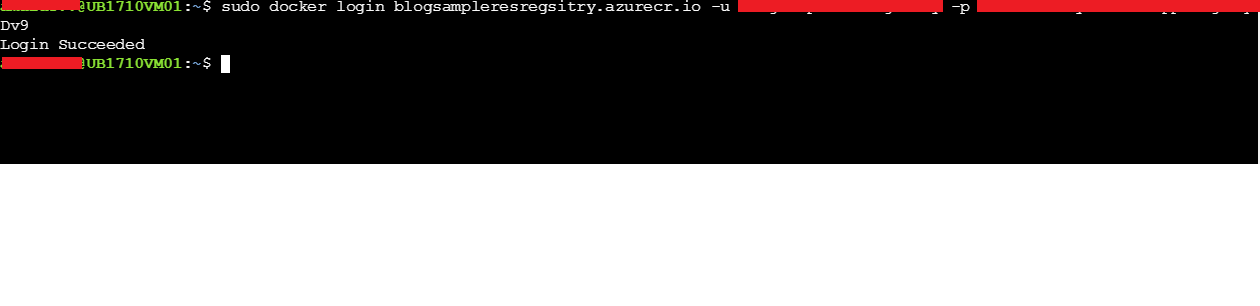
Before you push the image, the first thing you will need to do is to log in to our registry. For that, you will need to execute the docker login command and the parameters such as repository name, username and password are needed and you can get it from the Azure portal itself. You can find this information under Access Keys in Settings.
To upload the image to the repository, use the docker push command
docker push blogsampleresregsitry.azurecr.io/blog/hello-world
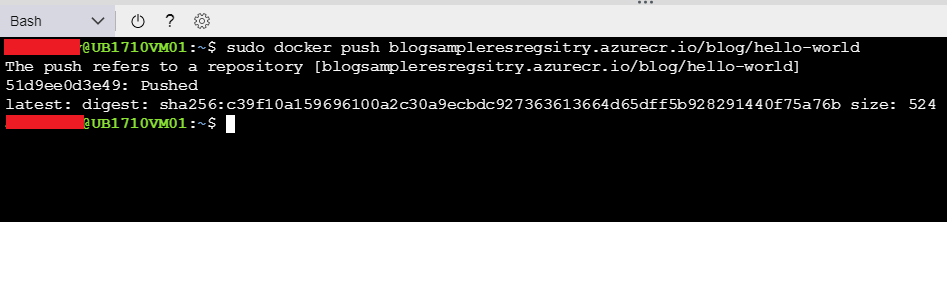
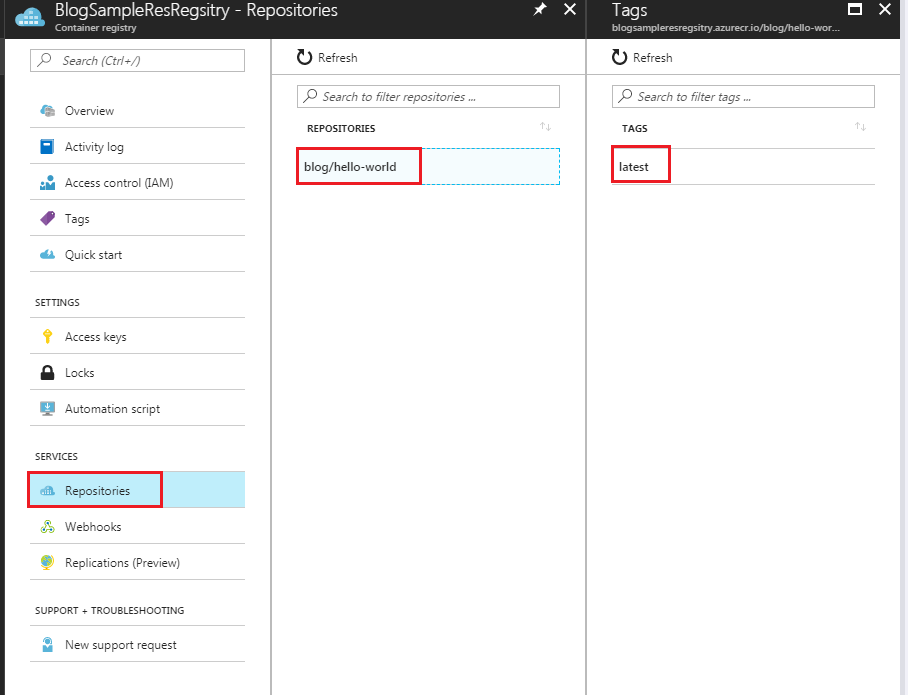
If you now go to the Repositories in the Registry, you will see our newly pushed image there.
No Comments
Connecting Azure Blob Storage account using Managed Identity
Posted 12/9/2022Securing Azure KeyVault connections using Managed Identity
Posted 11/26/2022Manage application settings with Azure KeyVault
Posted 11/9/2022Adding Serilog to Azure Functions created using .NET 5
Posted 4/3/2021Learn how to split log data into different tables using Serilog in ASP.NET Core
Posted 4/23/2020