Enabling Search in your Blog Posts in Orchard
One of the pain point faced by lot of developers/bloggers migrating to Orchard CMS platform is the process of enabling the search feature. In Orchard the search feature is disabled by default. So even if the search box is visible in the site, when you try to search the site/blog contents, it will return an error saying, "Please define a default search index". If you this error, then you can confirm that the it's not enabled and if you gets error message like "No results found" even if there exists content for the search criteria, you can confirm that the search is enabled, but index is not properly rebuilt after enabling the search.
In this post, I am going to show you how to enable the search functionality and to make sure that the contents are listed while searching.
To enable searching, you need to make sure that the following modules are enabled.
- Search - enables you to search the index using keywords on Lucene query syntax and returns list of matching items
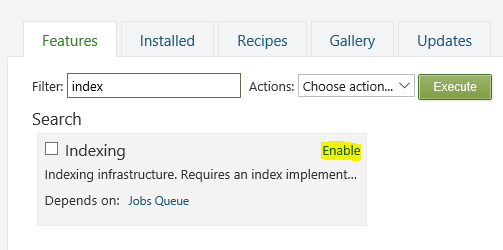
- Index - creates an index on the items in the blog/site
- Lucene -Implements the searching by using the index we have created
To enable it, go to Modules and search in the Filter box in the Features tab as shown below. If the module is installed then it will show there, otherwise you need to install it first. Clicking on the Enable link to make it available in the site.
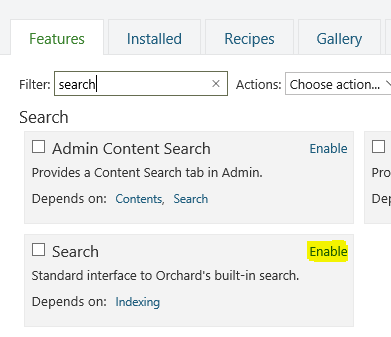
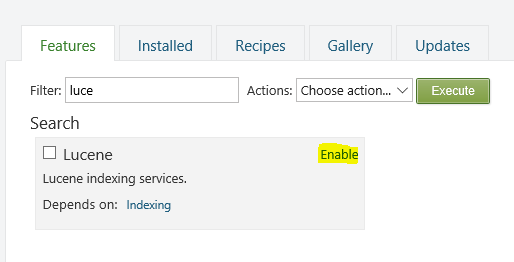
Since Lucene depends on Index module, it will first enable that module and then Lucene by default. So you can skip the enabling on Index module manually, because while enabling Lucene it will enable Index too.
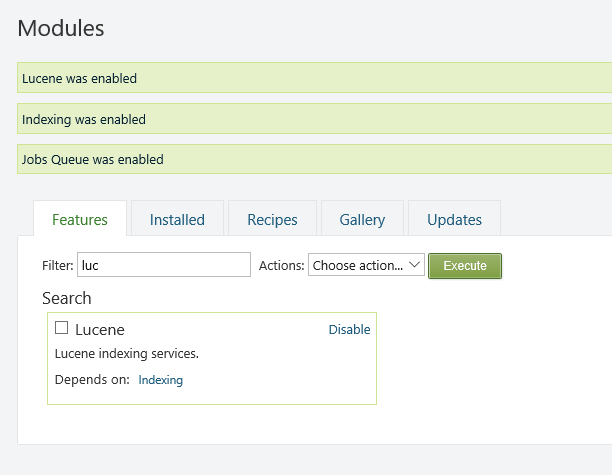
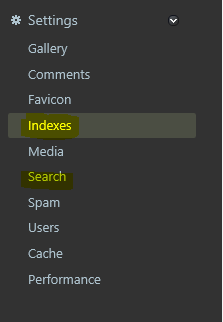
When all the three modules are enable, links for accessing Index and Search will appear under the Settings menu
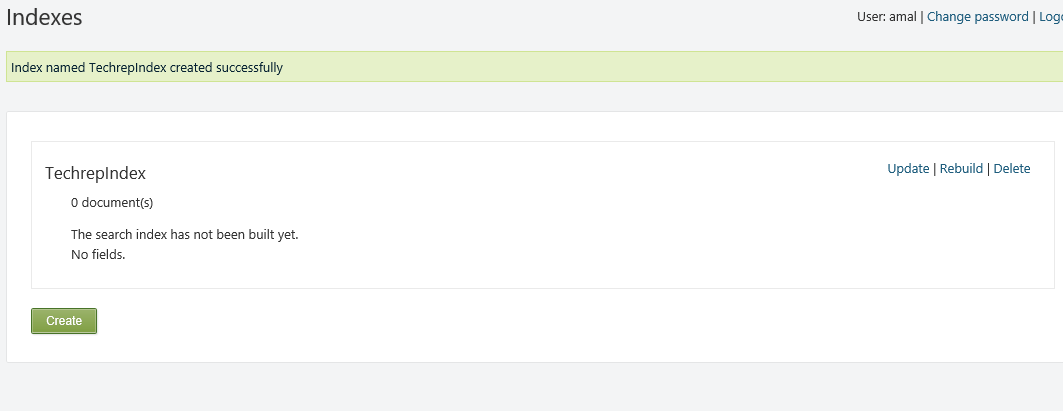
So, let's create an index first from the Index page which can be opened by clicking on the Index link, by default there won't be anything
![]()
Create a new one using the Create button, then give an name for the index and hit save. Only numbers and letters are allowed in the name.
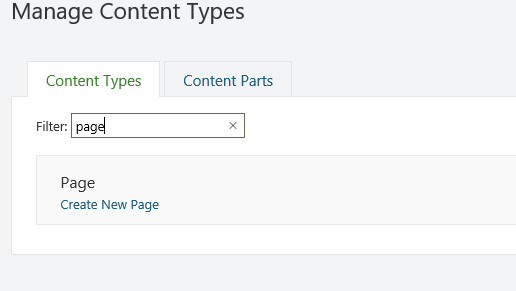
It will not add any documents because we haven't specified the Index to any of the content types we have in our site/blog. So let's add all our pages to the index, click on the Content Definition link from the left menu in the Admin dashboard and type page in the filter box and click on the edit link to edit the content type.
Editing Content Type
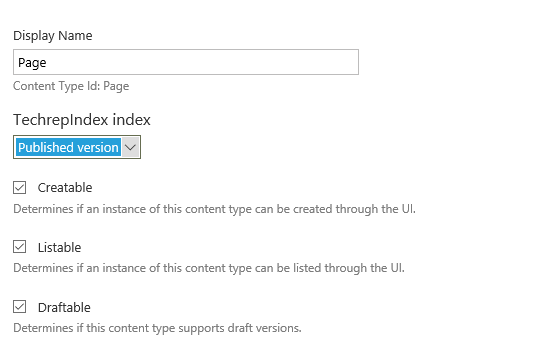
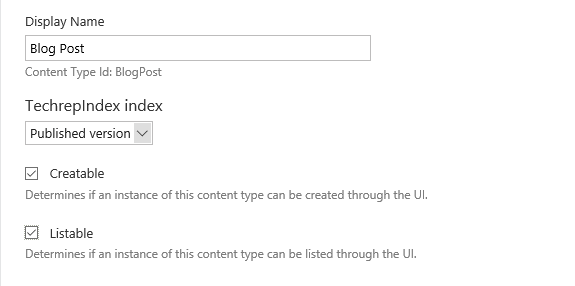
In the edit page, our newly created index will appear and select Published Version option from the drop down and click on the save button to add the pages in our site to the index.
Adding Index
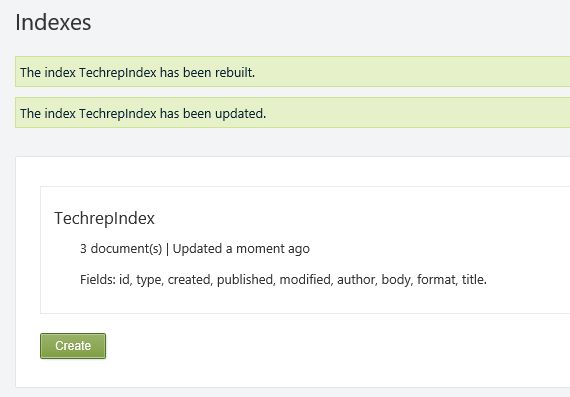
You will need to rebuild the indexes so that index for all the content items related to newly added content type will be created. Once the rebuilding is completed, it will list the count as shown below.
Rebuild Index
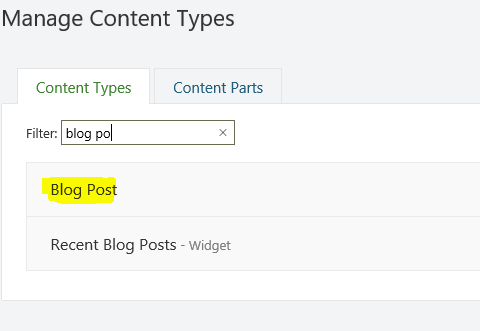
Similarly for enabling index for Blog posts, search for blog posts in Modules and repeat the step mentioned above.
Searching Blog Post Content Type
Editing Content Type
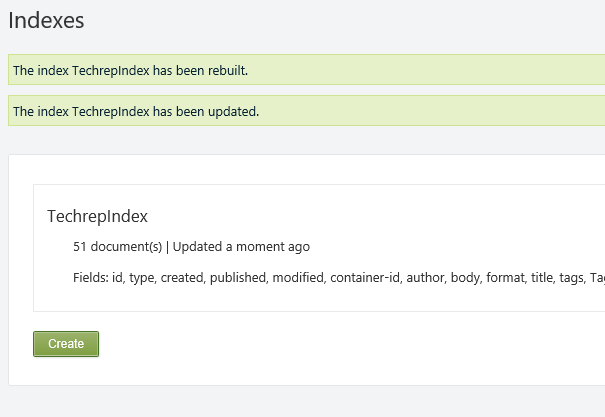
Rebuilding Indexes
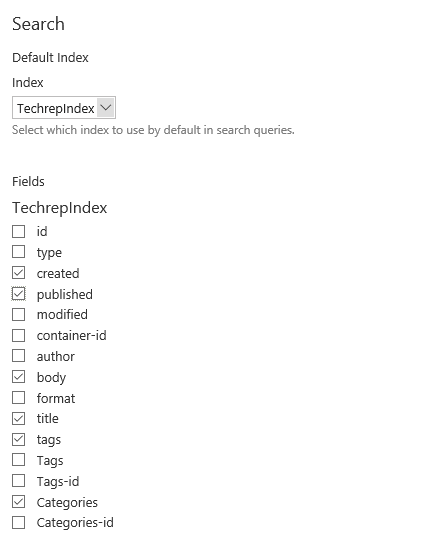
Now, you will need to specified the fields that can be used for querying in the index. For that go to Search page by clicking on the Search link under Settings from the left menu. Select the newly created index from the dropdown and select the fields which you want to include as shown below.
That's all we need to do in the admin section for enabling the search feature, now let's do some searching from the UI.
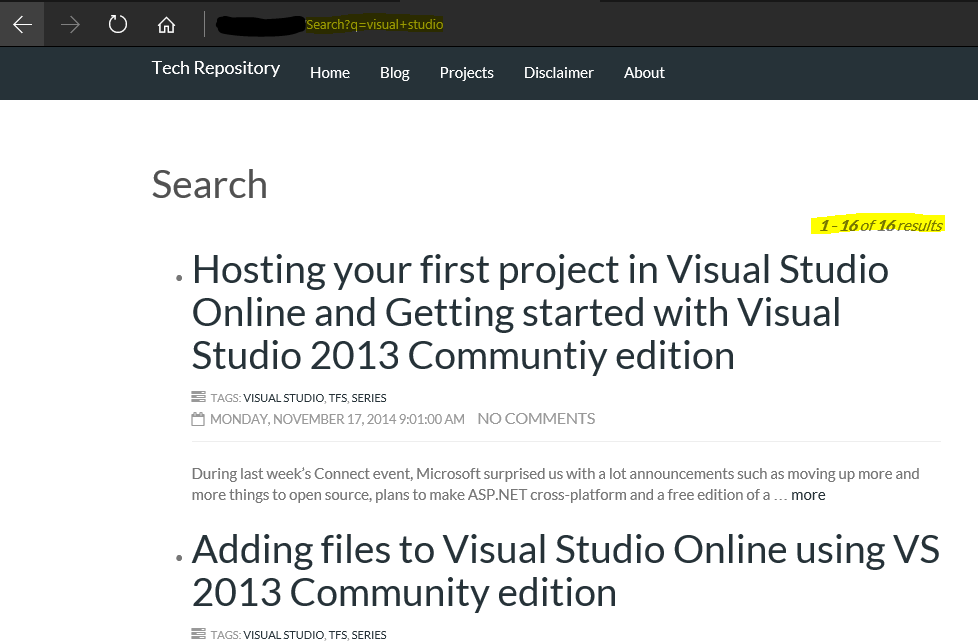
Enter the keyword in the search box in the site/blog and hit enter to view the search results.
Searching

Search Results
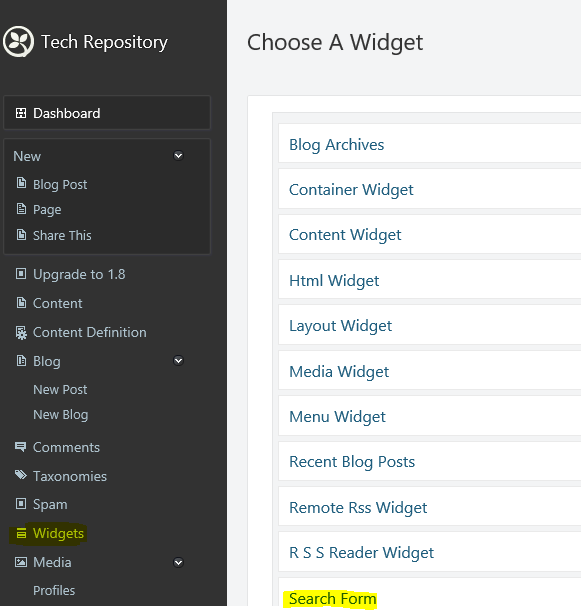
If your frontend is missing the Search box, you can add that from the widgets menu.
All the screenshots are based on Orchard running on version 1.10
No Comments
Connecting Azure Blob Storage account using Managed Identity
Posted 12/9/2022Securing Azure KeyVault connections using Managed Identity
Posted 11/26/2022Manage application settings with Azure KeyVault
Posted 11/9/2022Adding Serilog to Azure Functions created using .NET 5
Posted 4/3/2021Learn how to split log data into different tables using Serilog in ASP.NET Core
Posted 4/23/2020