Deploying an Optimized Image of your ASP.NET Core MVC Web App in Docker
In one of the posts I authored in the blog, I have shown you how to deploy an ASP.NET Core Web application in a Docker container, but the approach in the post has got a significant disadvantage. In that approach we always copied the entire contents of the directory which included all the static files, source code files etc, then restores all the packages inside the container and builds the application before it’s hosted in the container. This increases the boot up time of the container as well as the file size of the container.
In this post, I will show you how to publish a web application into the container rather than copying all the files into container and then build the application inside that. I am going to create an .NET Core MVC web application using the dotnet new command, you can read more about that my post here.
Step 1 : Create Project
dotnet new –t web
Step 2 : Restore Packages
dotnet restore //restores all the packages referenced in the project.json files
Step 3 : Publish Project
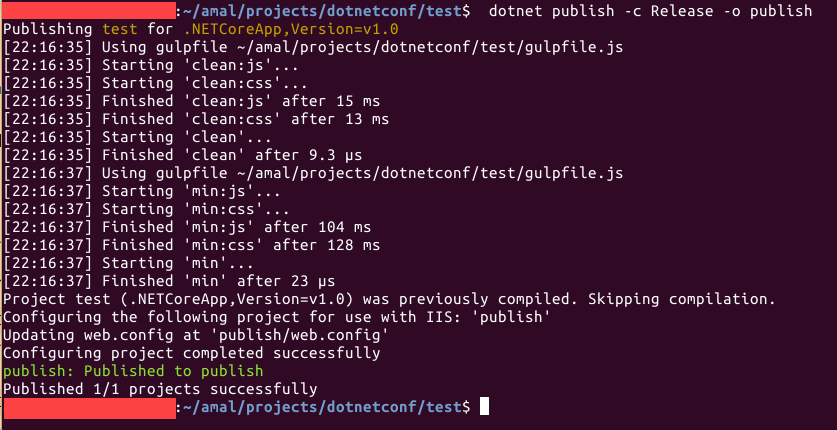
dotnet publish –c Release –o publish
Publishes the output of the project to the publish folder using the Release configuration. Before running the command make sure that node, bower and gulp is installed in your machine otherwise the publish command will fail
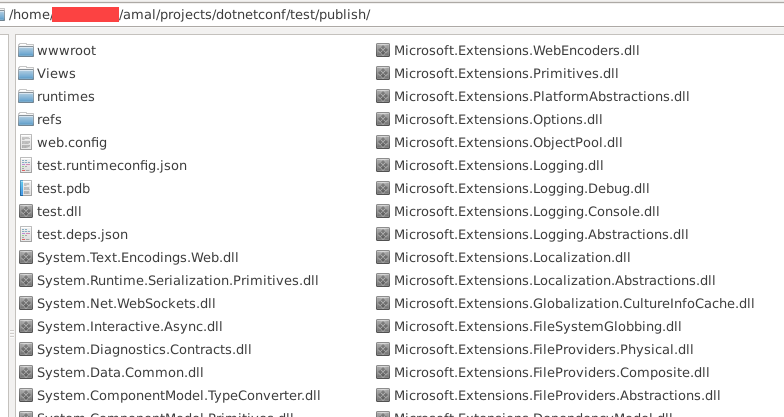
If you look inside the publish folder you will find that it has copied all our static files and resources along with the dlls of our application and the dependencies used in it
Step 4 : Running the application from the publish folder
Let’s run this application in the local machine using the output generated in the published folder.
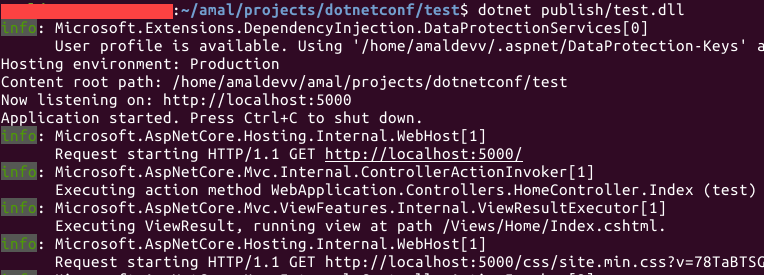
dotnet publish/test.dll
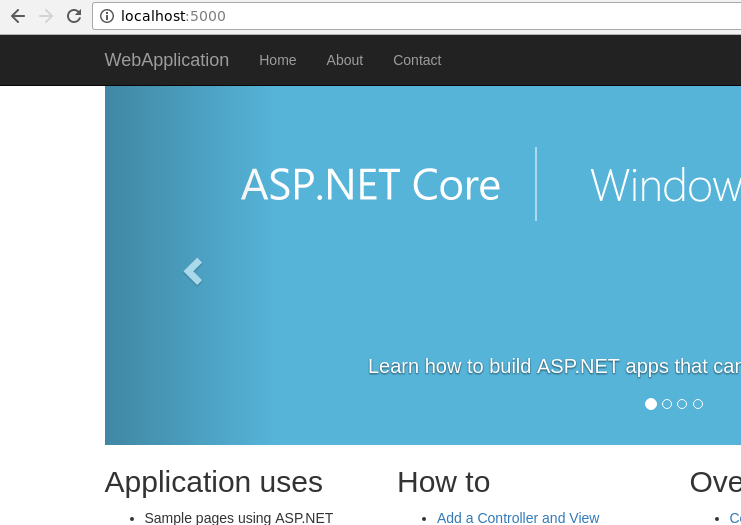
By default, in .NET Core, the web application by default runs in port #5000 and you can verify it by running the following url in the browser.
Step 5: Create Dockerfile
A Dockerfile contains a set of instructions that tells what to do when a docker build command is executed. For details about the commands used in the file, please refer the Docker documentation here.
//uses the dotnet image from Microsoft as the base image

FROM microsoft/dotnet:latest

//copy the contents in the publish directory in your local machine to the webroot folder in the container

COPY /publish /webroot

//set webroot as the current directory in the container

WORKDIR /webroot

//set the url env variables which is in turn used by dotnet to host the application in the container

ENV ASPNETCORE_URLS = “http://*:5002”

//exposes the specified port of the container, this basically tells the daemon that the application can be reached in this port

EXPOSE 5002

//specifies the entry point, when the docker run command in executed it will execute the command dotnet test.dll.
//Here test is the name of the folder for my project and the publish command which we executed earlier created the dll using that name

ENTRYPOINT dotnet test.dll
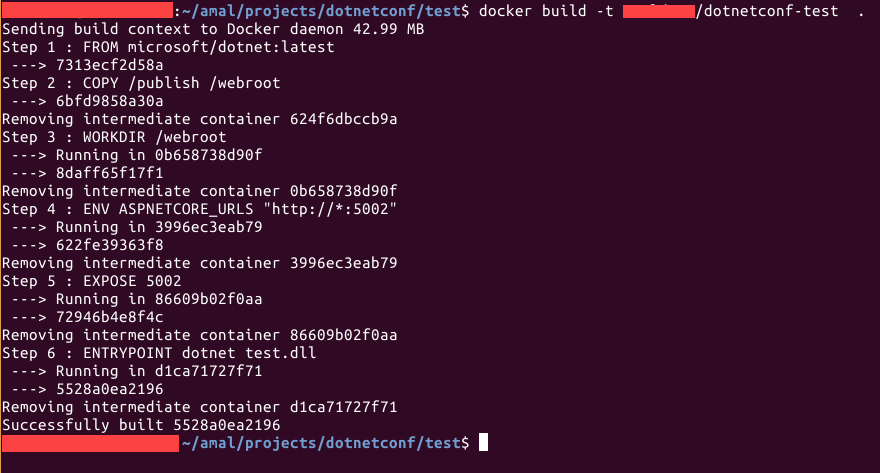
Step 6: Build Docker Image
docker build –t xxx/dotnetconf-test .
Creates a docker image with the name specified in the –t switch. It is advised to follow the convention <your docker username>/<image name> while giving a name for the container. The period(.) in the command tells docker to search for a file named Dockerfile in the current directory.


Step 7: Run the Container
docker run –p 8002:5002 xxx/dotnetconf-test
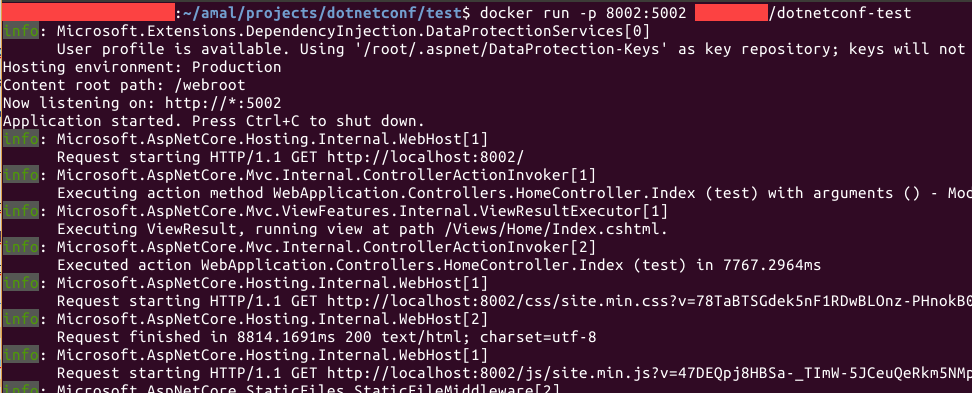

The above command tells the daemon to create a container using the specified docker image and the –p switch maps the port # 8002 in the local machine to the port #5002 in the container. In the earlier step we have specified 5002 as the port number in the container where our web application will be listening to the requests. So when this command is executed, whenever there is a request hits the port #8002 in the local machine will be redirected to the container’s port and our page will be served from the container
Docker Image Comparison
If you check the size of the images now, you will note that the image created using the steps mentioned above is somewhat 80 MB lesser in size.

No Comments
Connecting Azure Blob Storage account using Managed Identity
Posted 12/9/2022Securing Azure KeyVault connections using Managed Identity
Posted 11/26/2022Manage application settings with Azure KeyVault
Posted 11/9/2022Adding Serilog to Azure Functions created using .NET 5
Posted 4/3/2021Learn how to split log data into different tables using Serilog in ASP.NET Core
Posted 4/23/2020